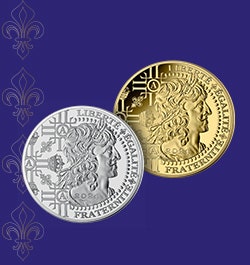

the manufacturing of your medal

THE CREATION OF THE VISUAL
Based on the elements provided by our clients, the creative team will construct the visuals representing the future medal, first by hand and then using cutting edge computer assisted tools. The latter set of visuals will be in colour and in 3D, to come as close as possible to the final appearance that will be achieved in the manufacture. At any time until the manufacture actually begins, the client can request a modification or an adaptation on the visuals proposed by the teams at Monnaie de Paris.

THE MODEL IN RELIEF
The artisan engravers create the desired object using various techniques, usually with modelling clay (building the relief), then plaster (details), and finally in resin. But state of the art tools are also used to enhance the process. In this way, every project undertaken in our workshops draws on highly skilled methods of artisan craftsmanship, the legacy of centuries of existence, without excluding assistance from the most modern equipment. Experience, heritage, our centuries of history merge with computerised techniques, 3D printing, laser technology, etc. to achieve the creations that are produced in our workshops.

THE CREATION OF THE TOOLS
First developed in the 18th century, the reducing lathe transfers a scaled-down copy of the relief in the resin onto a steel plate, by means of homothetic transformation. A kind of a metal finger palpates the resin while a carbide milling burr reproduces the exact movements of the finger, carving into the steel plate. Sculpted in this manner, the steel plate becomes a matrix (or "die" when referring to coining tools). For very complex equipment, this die engraving step in the process can take from 24 to over 48 hours.
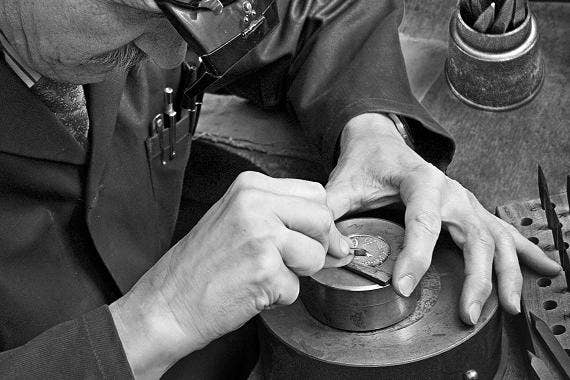
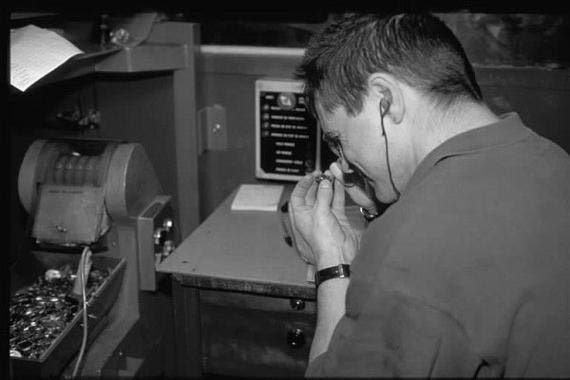
THE CONTROL OF THE TOOLS
Once the relief is perfectly sculpted in the steel, the steel is subjected to a rigorous control under a microscope to ensure that there are no micro-scratches. It is systematically checked over and patiently reworked by hand by one of our engravers, who ensures its relief is perfect. Next is the immersion stage, when the steel plate is heated to a very high temperature before being immersed in liquid nitrogen, which sets the atoms of metal and gives it exceptional resistance. The tool will then be placed on the press and used to stamp the metal blanks.
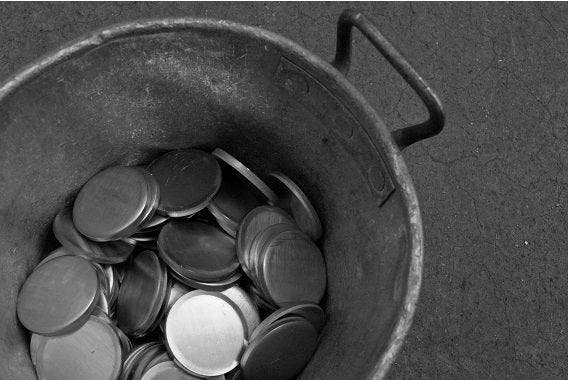
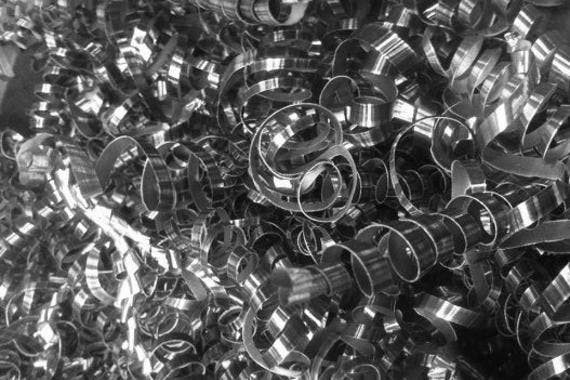
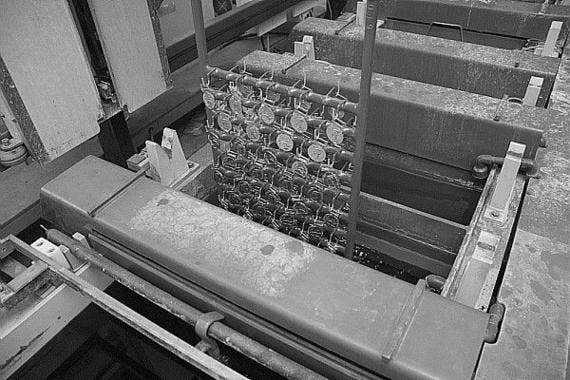
THE METAL CUTTING
In our die cutting workshop, the metal, in the form of a plate, is cut to the desired shape of the medal, and then sent to the stamping workshop. At the same time, the steel tools are installed on one of our presses. Once the qualified workers have adjusted the various settings (setting up and blocking the dies in position, adjustment of the force to be exerted by the press, etc.), the stamping can begin.
STRIKING -OR STAMPING- MEDALS
To achieve the desired result, the metal blank will be struck repeatedly, on average three to four times. But striking a blank three or four times is not just a matter of putting a press into operation three or four times! Actually, metals such as bronze or silver do not tolerate the striking process very well.
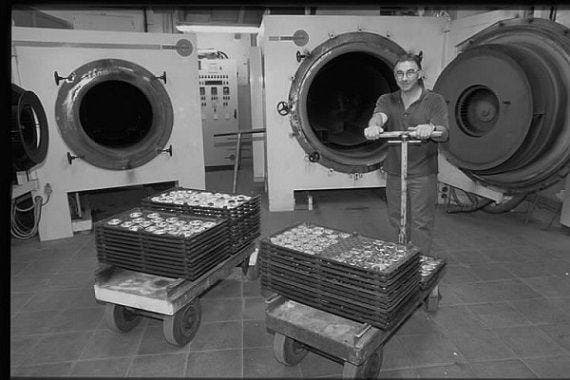
THE ANNEALING PROCESS
Between each pass, it is necessary to subject the future medals to thermal processes, to restore their original malleability. So after each strike, the medal go through an annealing process that takes nearly eight hours in specially designed "annealing ovens"! After each annealing treatment, the medals are immersed into an etch bath to rid them of any impurity (any defect would be visible to the naked eye!).
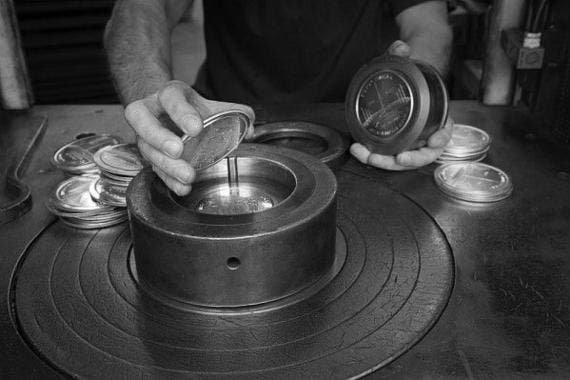
LE DÉTOURAGE DES MÉDAILLES
Once the relief and its details appear with precision and refinement, the medal will be trimmed: as the striking deforms and flattens the original bronze disc as it impresses the desired relief, we end up with a band of metal that overruns the circumference of the medal. The trimming step: this band of surplus metal around the medal is removed to give the piece its final and perfected shape and dimensions.
(FOR DECORATIONS) POLISHING AND WELDING OF THE ATTACHMENT FOR THE RIBBON
The medals struck are then polished and cleaned, to remove all possible impurities and obtain perfectly smooth and homogeneous surfaces. The ring with which the ribbon will be attached is then welded in our jewellery workshop.
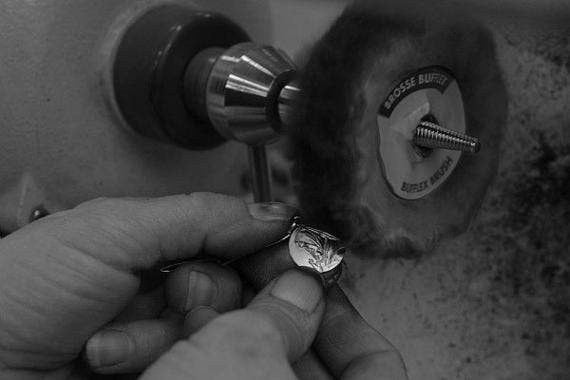
FINISHING WORK AND SURFACE TREATMENTS
The trimmed medals are then sanded to create a uniform surface and enable the patina or silver plating to adhere. Next they are immersed in baths, to deposit a fine layer of patina, silver or gold, by means of electrolysis. In general, the thickness of the precious metal is over 1 micron. For patinated medals, the first step is to brush the surface of the medals to remove the black deposit on the surface but leave the deposit in the hollows of the relief of the medal for emphasis and in this manner, to highlight the engraving work.
FINAL VERIFICATIONS AND VARNISHING
After a final quality check, the medals are thoroughly dried and then varnished, to ensure optimal preservation qualities. This varnish will durably protect products in bronze, silver-plated bronze or solid silver from oxidation.


